This post will show you how to get Home Assistant OS running as a VM on a Proxmox VE host in just a couple of minutes.
If you're new to Virtualisation, Proxmox Virtualization Envionment (Proxmox VE) is a great introduction to the world of Hypervisors. It's an open source server management platform with an intuitive web interface. You can run Proxmox on a single relatively low-end system (think an old PC, or an Intel NUC) or you can run it on multiple boxes and create your own home computing cluster!
Not only can you run virtual machines, but you can also run Linux Containers (LXC) for lower resource/footprint requirements.
If you've not already got Proxmox running, I'd suggest downloading the installer, copying it to a USB stick (using something like Balena Etcher), and following the instructions - install it, play around with it, break some things, then install it again to fix what you've broken. I may come back to the installation process in future, but it's fairly intuitive to get started.
For this post, we're assuming you already have Proxmox installed and you want to get Home Assistant up and running as a virtual machine.
Once you've logged into your Proxmox server's web interface, you want to find the Shell option. If you have multiple servers in a cluster, click on any server, then shell:
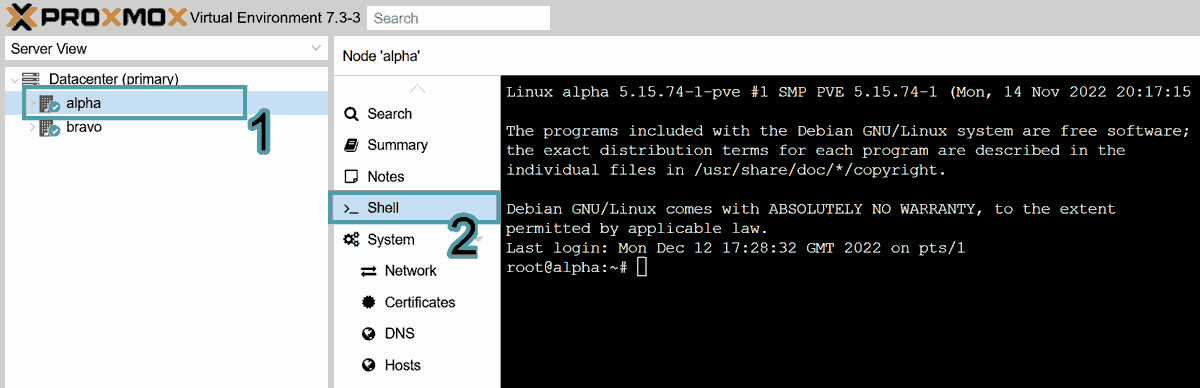
In this window, paste (Right-Click > Paste, or Ctrl + Shift + V) the command below and hit enter:
bash -c "$(wget -qLO - https://github.com/tteck/Proxmox/raw/main/vm/haos-vm.sh)"Even if you're only after a Home Assistant installation, there are multiple scripts available, including a Home Assistant LXC container and Home Assistant Core LXC container.
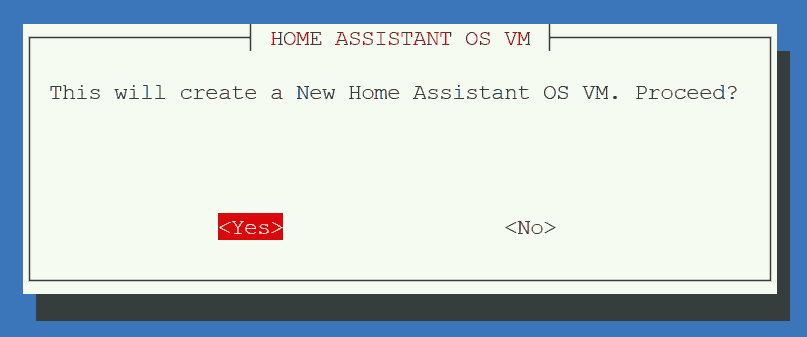
Follow the prompts, and if you stick to the simple setup, it's only a few steps:
1. "This will create a New Home Assistant OS VM. Proceed?" - I mean, yes. Choose yes:
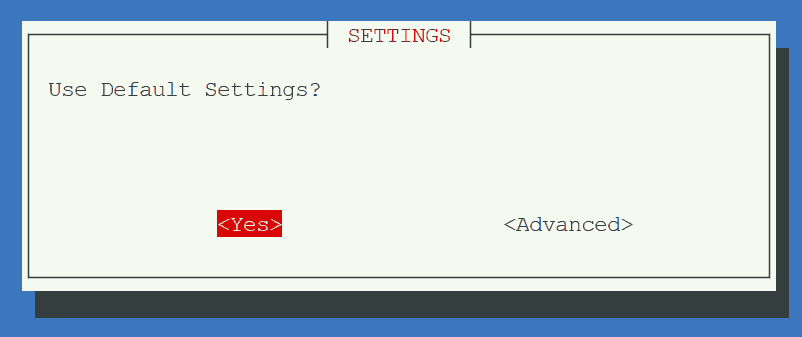
2. Default Settings are probably fine for most people, but for the full list of Advanced options:
Advanced Options
- Choose HAOS version: Stable, Beta or Dev
- Set Virtual Machine ID
- Choose Virtual Machine Type: i440fx (Default) or q35
- Choose Disk Cache: Default or Write Through
- Set Hostname
- Choose CPU Model: KVM64 (default) or Host
- Specify CPU core quantity (depends on physical hardware but will default to 2 if it can)
- Specify amount of RAM (again, depends on hardware. Defaults to 4096 MiB if possible)
- Set a network (Bridge) interface
- Specify a MAC address
- Set a VLAN (or leave blank for none)
- Set Interface MTU size (leave blank for default)
- Start VM when script completes? Defaults to yes
- 'Ready?' confirmation. Choose Yes or start over
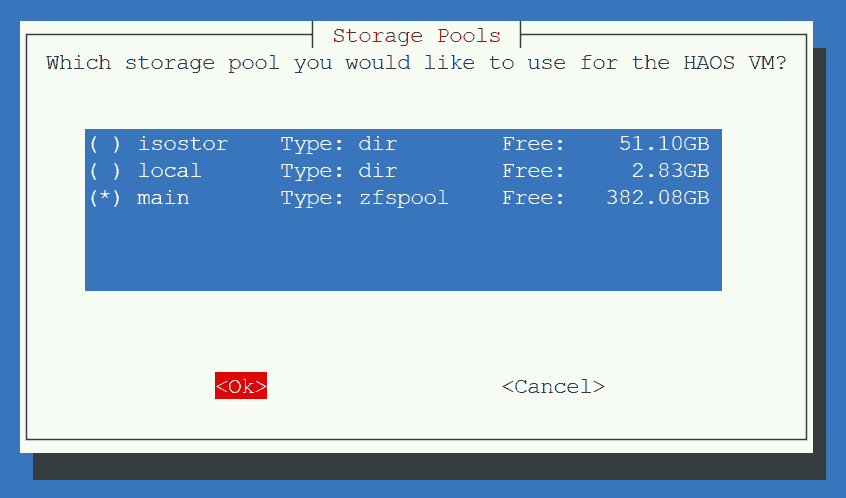
3. Select where the VM's disk will be stored (arrow keys to move up and down, space to select, tab to move down to OK/Cancel):
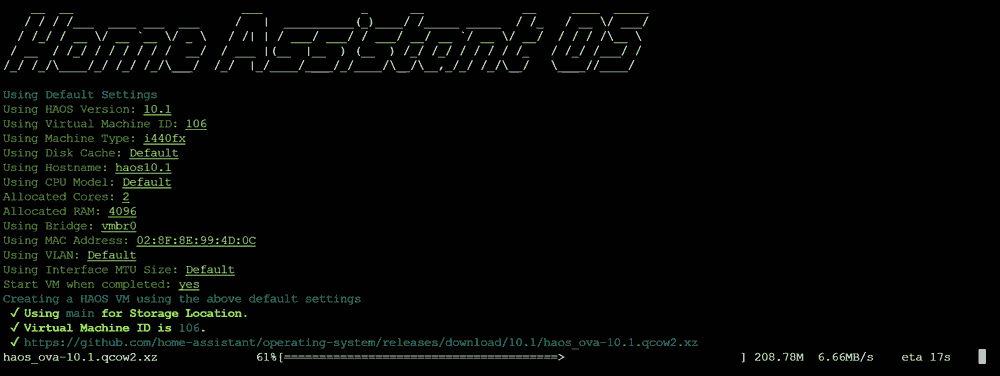
4. Wait for the script to download the Home Assistant OS image file:
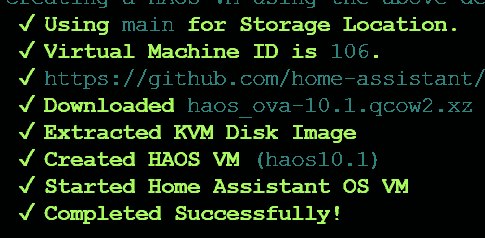
5. Wait until you see the 'Completed Successfully!' message:
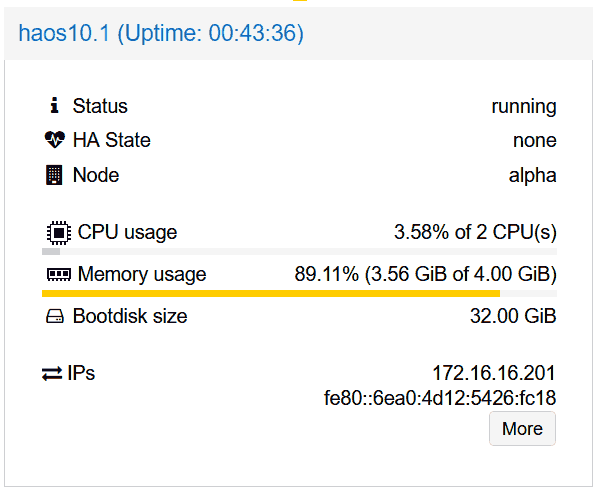
6. If you go back to your Proxmox web interface and click on the newly created VM, you'll see an information box which includes the new VM's IP (if it has managed to get one via DHCP. If it hasn't use the VM's shell to set the IP):
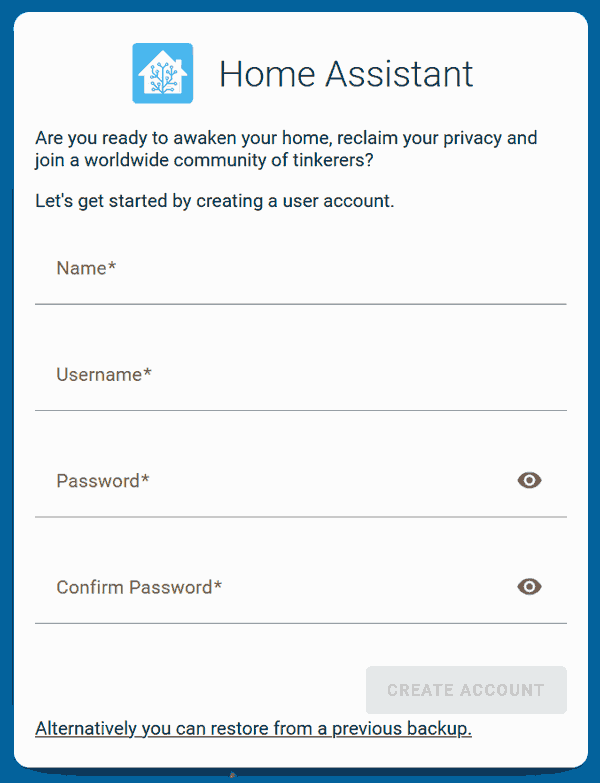
7. Take IP and go to http://<ip-of-new-vm>:8123 and follow the Home Assistant setup steps, either to setup a new install, or to restore an existing backup:
What next?
That's it for this setup. It's a pretty quick way of getting Home Assistant setup on a Proxmox VE host, but the real star of the show is the script from tteck, and I know I've already said it once, but I'd highly recommend looking through the other available scripts to see what else you might want to install!
If you notice any issues with this post, please leave a comment to let me know, or message me at @techbits@sudo.cat or @techbitsio.

