In this post, I'll show you how I migrated from the UniFi controller and a USG to the UniFi Dream Machine Pro, as well as the installation of a 10G SFP to enable faster than 1gigabit WAN/internet.
Background
I have been using the UniFi Security Gateway (USG) for over 5 years, and I've never had any issues with it that I didn't cause myself (APs... slightly more troublesome, but that's another story), and actually, it still works fine now! However, it's starting to get a bit long in the tooth.
The biggest limitation of the USG is its limited processing power and memory. The dual-core 500MHz MIPS64 chip and 512MB of DDR2 RAM mean that although the USG can still do a lot, the performance has to scale down to keep up.
For example, the USG has a 1Gbit/s WAN interface, and could quite happily work with internet at this speed, but if you wanted to enable the IPS/IDS (intrusion prevention/detection system) options, that rate drops to about 80Mbit/s.
This could still be more than enough for your needs, and actually, could be desirable given the low spec means a very low power consumption (around 7 watts). As an entry-level upgrade from an ISP-provided router, picking up an old USG from eBay is a great option (and something I'd highly recommend).
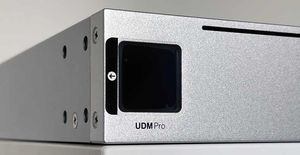
In comparison to the USG's meagre specs, the UniFi Dream Machine Pro (UDM-Pro) sports a quad-core 1.7GHz ARM processor and 4GB DDR4 memory. Because it has 10Gbit ports, it could support WAN speeds at this rate, and with IDS/IPS enabled can still support 3.5Gbit/s of bandwidth.
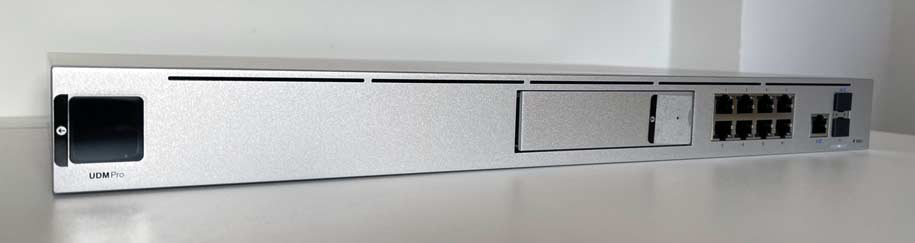
Where the USG is a nice, compact square unit, measuring less than 15cm x 15cm x 3cm, the UDM-Pro is a rack-mounted 1U chassis, so if you don't already have a cupboard with a rack frame, you'll need to think about where you can install it!

Initial UDM-Pro Setup
Assuming you've racked the unit (and had the usual amount of cage nuts pinging off somewhere), then connect the WAN port on the UDM-Pro to a network port on your existing router/switch. Connect the power and wait for it to boot up.

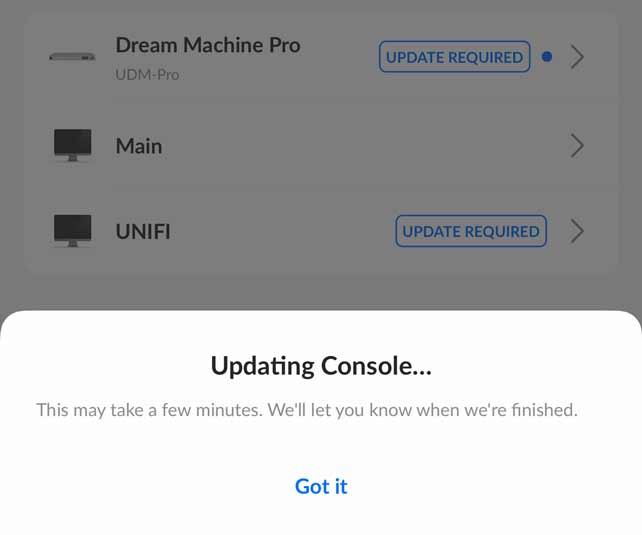
Using the mobile app for the initial setup (the little touchscreen prompts you to do this) is useful as it'll tie it to your UI account. You can try telling it to update versions from the app too, but this hasn't ever worked for me with any device. It would go through the motions but ultimately fail.
In the end, I had to grab a laptop and connect directly. Connecting to a port on the UDM-Pro, I browsed to the default IP (192.168.1.1) and logged in with my UI account details. Here, it showed that updates were available for various components, including the onboard controller. It was running version 6.0.43 from the factory (over 2 years old...) which probably explains why it refused to work with the significantly newer iOS app. I eventually managed to get UDM-Pro version to v1.12.30.
Backup the Controller
After ensuring the new onboard network controller and old controller container were running the same version (7.2.94) I browsed to my old controller URL, went into Settings > System, scrolled down to Backup, and downloaded the last 60 days of backups.
Stop the Controller
Once I had the backup, I switched off the old controller (in my case, stopped the Home Assistant addon), and made sure I set it to not startup automatically.
With the old controller off, software versions matching and backup in hand, I was ready to proceed.
Switch off the USG
I powered down the USG, moved the WAN connection from the USG to the UDM-Pro, and connected one of the UDM-Pro switch ports to my other switch.
Setup Default Network
Before it'll allow you to restore the backup from the old controller, it will make you set up the first/default network. The Host Address and Netmask should match the old setup.
Because I had the UDM-Pro connected to my main network while running software updates, trying to set the new network might result in the error:
Overlapping LAN IP Address: 192.168.1.1/24 cannot be set since it is overlapping with reserved network "Primary (WAN1)" range 192.168.1.0 - 192.168.1.255
Once you've connected the the real WAN connection, it should disassociate the previous range as the WAN network, but you could also reboot the UDM-Pro to speed things up.
Once you've set the network address, it's time to restore the backup.
Restore the Backup
Because the UDM-Pro hosts multiple components, there are different kinds of backups/restores. If we had a whole 'cloud config backup', we could restore settings for the entire unit/server.
Trying to restore the .unf backup we took to the cloud config section will result in an error:
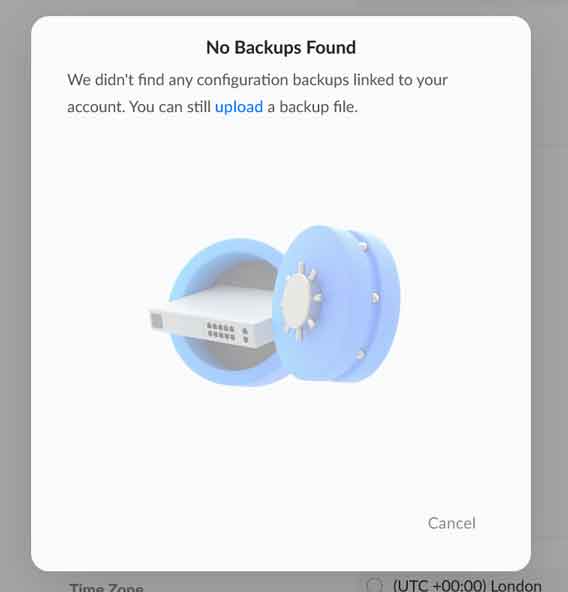
Instead, go into Network -> Settings -> System and under Backup, choose 'Import':
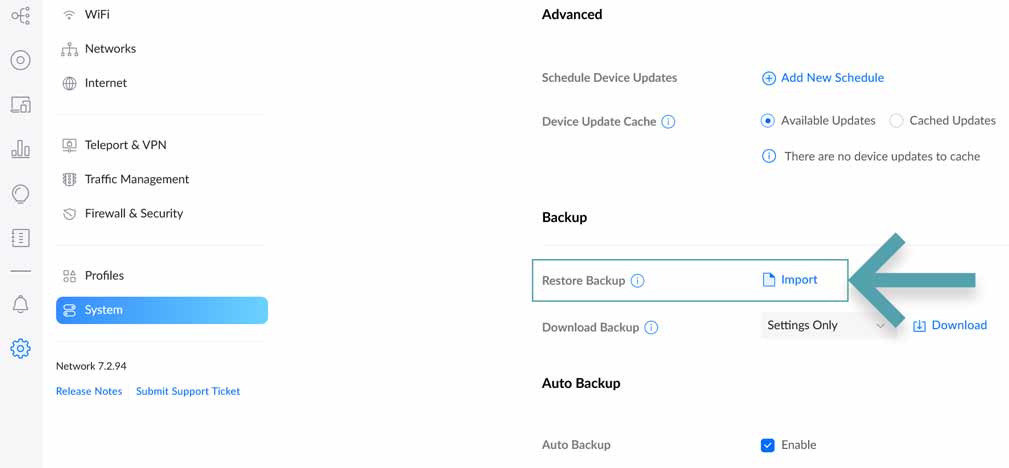
Once it has finished, that's pretty much it. I was expecting to have to fix one or two things manually (like telling the access points that the controller URL had changed), but no. Everything just worked, so I guess the restoration process must automatically run set-inform commands on associated APs.
To celebrate, I updated the firmware on the access points, and for the first time ever, I didn't have to manually repoint them to the controller once the firmware had been installed. I could get used to this.
What's Next?
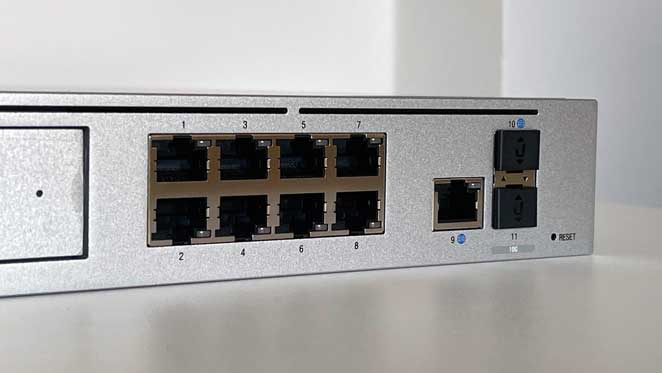
Once I had the previous configuration running, I shut the UDM-Pro down, and connected a MikroTik S+RJ10 SFP+ module. This is a 10gigabit module with an RJ-45 connector (BASE-T). Some SFPs are hot-swappable, but it's generally wise to power down and install, if you can.
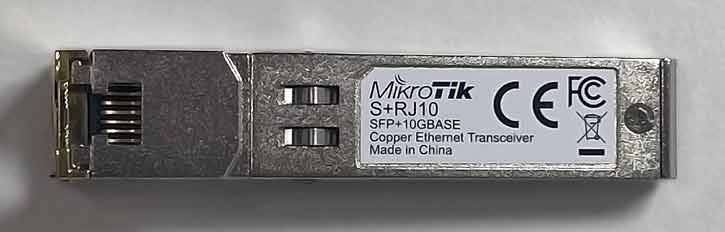
I powered back on, moved the WAN ethernet connection from the 1gigabit port to the newly installed SFP. Once the network was back up, I ran a speed test through from the UDM-Pro and was now seeing over 1000mbit/s instead of the previous limit of around 920mbit/s from the 1gig port.
That's it! Once the new unit was up-to-date, the process was painless. I was certainly expecting to have to fix some things manually, but perhaps the move to the newer OS & in-built controller means some of the previous annoyances are a thing of the past.
If you have any experience of moving from other older-gen UniFi devices to different current models, please leave a comment, because I'd love to hear how it went for you. You can also find me over at @techbitsio.