This post details the process of upgrading a Mac running MacOS 13 Ventura with Open Core Legacy Patcher to MacOS 14 Sonoma.
When Apple classes a Mac as too old to receive macOS patches, it's usually a signal to the owner that a shiny new device is in order (if, of course, the owner kept it that long and didn't upgrade sooner).
A lot of the time, however, while the hardware of said device may no longer be performant, it may still be completely capable of running the latest macOS version, if only there was some way of forcing it to install. Oh wait, there is: Open Core Legacy Patcher.
Download OCLP
Installing a too-new version of macOS on your ancient device isn't the point of this article–the documentation from OCLP is pretty good, see here:
No, given that the process for installing includes installing custom EFI bootloaders, performing a major version upgrade was surprisingly less well documented. So, if you're using one version of macOS thanks to OCLP, and want to upgrade to another (specifically, Sonoma), here's a good place to start.
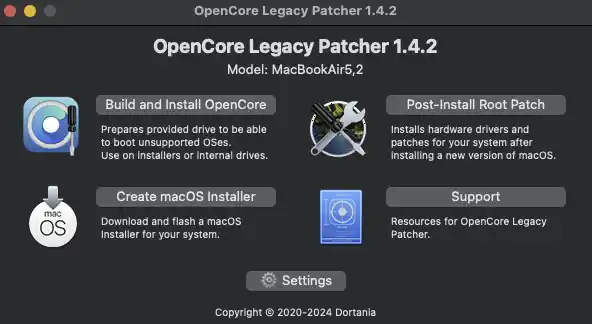
Download the latest version of OCLP (this is important as the newer macOS versions may have specific fixes or support for newly deprecated hardware).
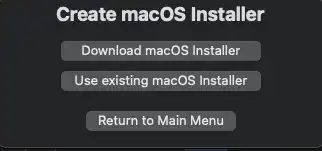
Download the macOS Installer
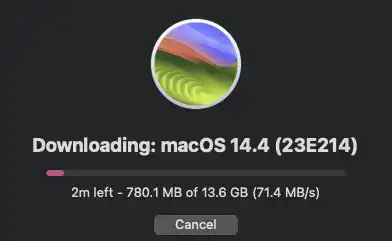
Choose Create macOS Installer then Download macOS Installer if you haven't got the latest version downloaded already.
Create a bootable USB drive
Once downloaded, you'll be prompted to select a USB device to turn into a bootable installer.
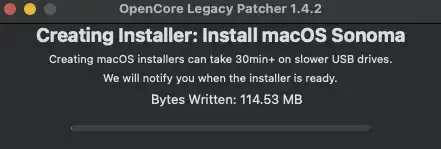
You'll be prompted for your password, and once you've confirmed you want to override/reformat your USB stick, OCLP will start building your USB.
It says it can take over 30 minutes, and it's really not lying. Go and make some tea or something while you wait. Maybe walk the dog.
Install OpenCore to USB
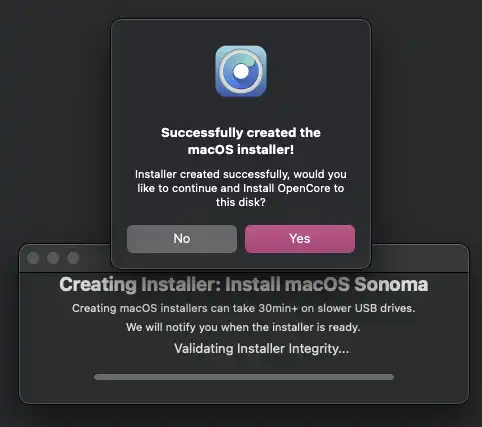
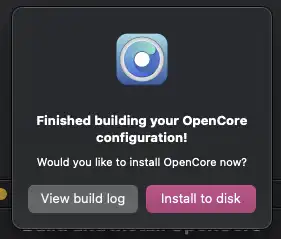
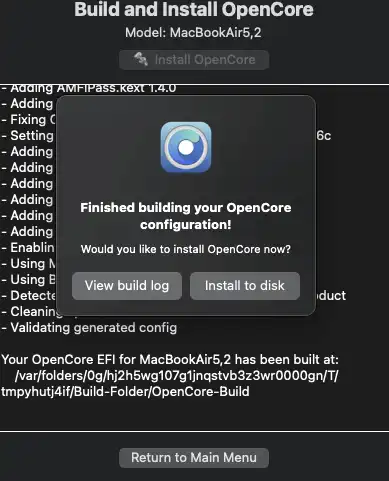
Once the process is complete and verified, OCLP will ask if you want to install OpenCore on the stick. This is what allows what would otherwise not be able to run on your hardware to start up anyway, so choose Yes. It will build and ask for confirmation to Install to disk.
Boot from the USB installer
Now you can reboot your Mac, holding option/alt when it boots. You need to choose the USB stick's EFI option here, and then on the next screen, choose the install macOS option.
Begin the installation
Once in the macOS recovery/install view, choose the 'install macOS' option to begin the upgrade. Choose to install it over the existing drive and it'll automatically know it needs to upgrade the installation, so don't go into Disk Utility or fiddle with the disk/partitions at all.
Once the installation begins, it will reboot a couple of times, and when it does, you'll need to make sure to hold option/alt on start-up so you can choose the external USB EFI partition again. Once in the EFI parition, choosing the macOS option instead of install macOS should be fine, as it'll know to continue the install.
Install OpenCore to disk
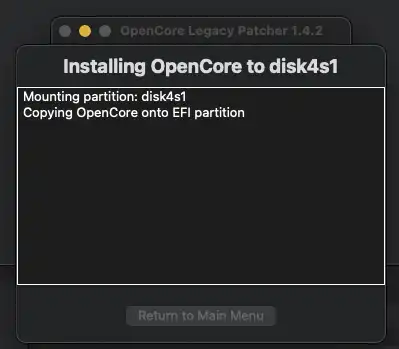
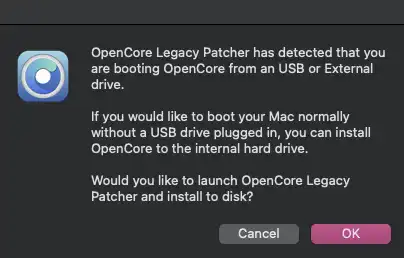
Once finished and booted back into macOS, you may (should?) get a prompt from OCLP to say that you're still booted from the USB EFI parition, and ask if you want to install to the internal disk. Choose OK, then Install to disk.
Once done, shut your Mac down, remove the USB stick then boot it back up. It should automatically make it back to the Desktop without requiring any manual intervention.
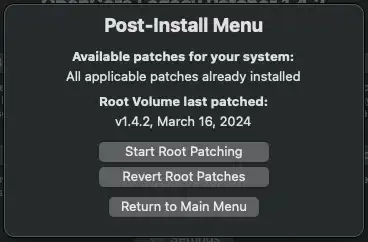
Post-Install Root Patch
I didn't need to run this, I assume OCLP handled this as part of the OpenCore step previously.
To confirm, choose the Post-Install Root Patch option and it will check to see if anything is required, so install these if required.