
#windows
Remove Snipping Tool as default Windows Screenshot Tool
Snipping Tool isn't a bad utility, but Windows' obnoxious behaviour when it comes to remapping shortcuts can make using an alternative tricky.
Want to create a Windows Active Directory Domain (and Forest) on a Windows Server Core system? This guide will teach you how!

Whether you’re trying to configure a new active directory Forest and Domain on Windows Server Core, or you just want to use Powershell instead of the ‘Install Roles’ GUI, you’re in the right place. This short guide will show you how to create a new Forest & Domain faster than if you were trying to use the GUI.
Windows Server Core is a slimmed-down version of Windows Server, and as such, it requires fewer resources to run, as well as presenting a much smaller attack surface (in regards to security).
First, we need to make sure we have some basic things set. We’ll do this from the server config window (sconfig) which opens by default now on Server 2022. For older versions, run sconfig.
dc01 is a boring, but fine choice.
Exit from sconfig to the command prompt. Server 2022 defaults to powershell. If you end up somewhere else, enter into a powershell prompt with powershell.
Enter the command below:
Install-WindowsFeature AD-Domain-ServicesOptional things here: –IncludeManagementTools, -Verbose
The management tools might be a valid option if you’re installing via Powershell on a Server with GUI, but we don’t need this on our Server Core installation. We’ll install management tools on a client machine in future.
It’s a fairly short installation, so -Verbose is probably not necessary.
Now we install the new Forest, and therefore, our domain, using the Install-ADDSForest cmdlet. We specify the -DomainName, in this case, I’m using a subdomain of ad, which is fairly common. Equally common would be using a subdomain of ‘corp’. Because we’re installing a new forest, we’ve set the -ForestMode and -DomainMode to the same level of 7, which is the current latest domain and forest functional level: Server2016.
The -DomainNetbiosName is the first part of the domain. If you chose just ‘example.com’, the netbios name would be ‘EXAMPLE’. In our case, it’s the sub-domain part: ‘AD’. Finally, -InstallDns:$true says that we want to install the DNS service. The complete command looks like:
Install-ADDSForest -DomainName ad.dictive.tech -ForestMode 7 -DomainMode 7 -DomainNetbiosName AD -InstallDns:$true
Once you run this, you’ll be prompted for a SafeModeAdministratorPassword. This can be the same as the administrator password but it’s worth knowing what the safe mode password is for: If you ever need to use directory services restore mode, or start the DC in safe mode, you will need this password.
Enter the SMAP, and you’ll be presented with the final opportunity to cancel the process: “The target server will be configured as a domain controller and restarted when this operation is complete. Do you want to continue with this operation?”
Say yes to this, and watch the progress. It will throw some warnings, but as this is a new domain/forest, we can safely ignore them.
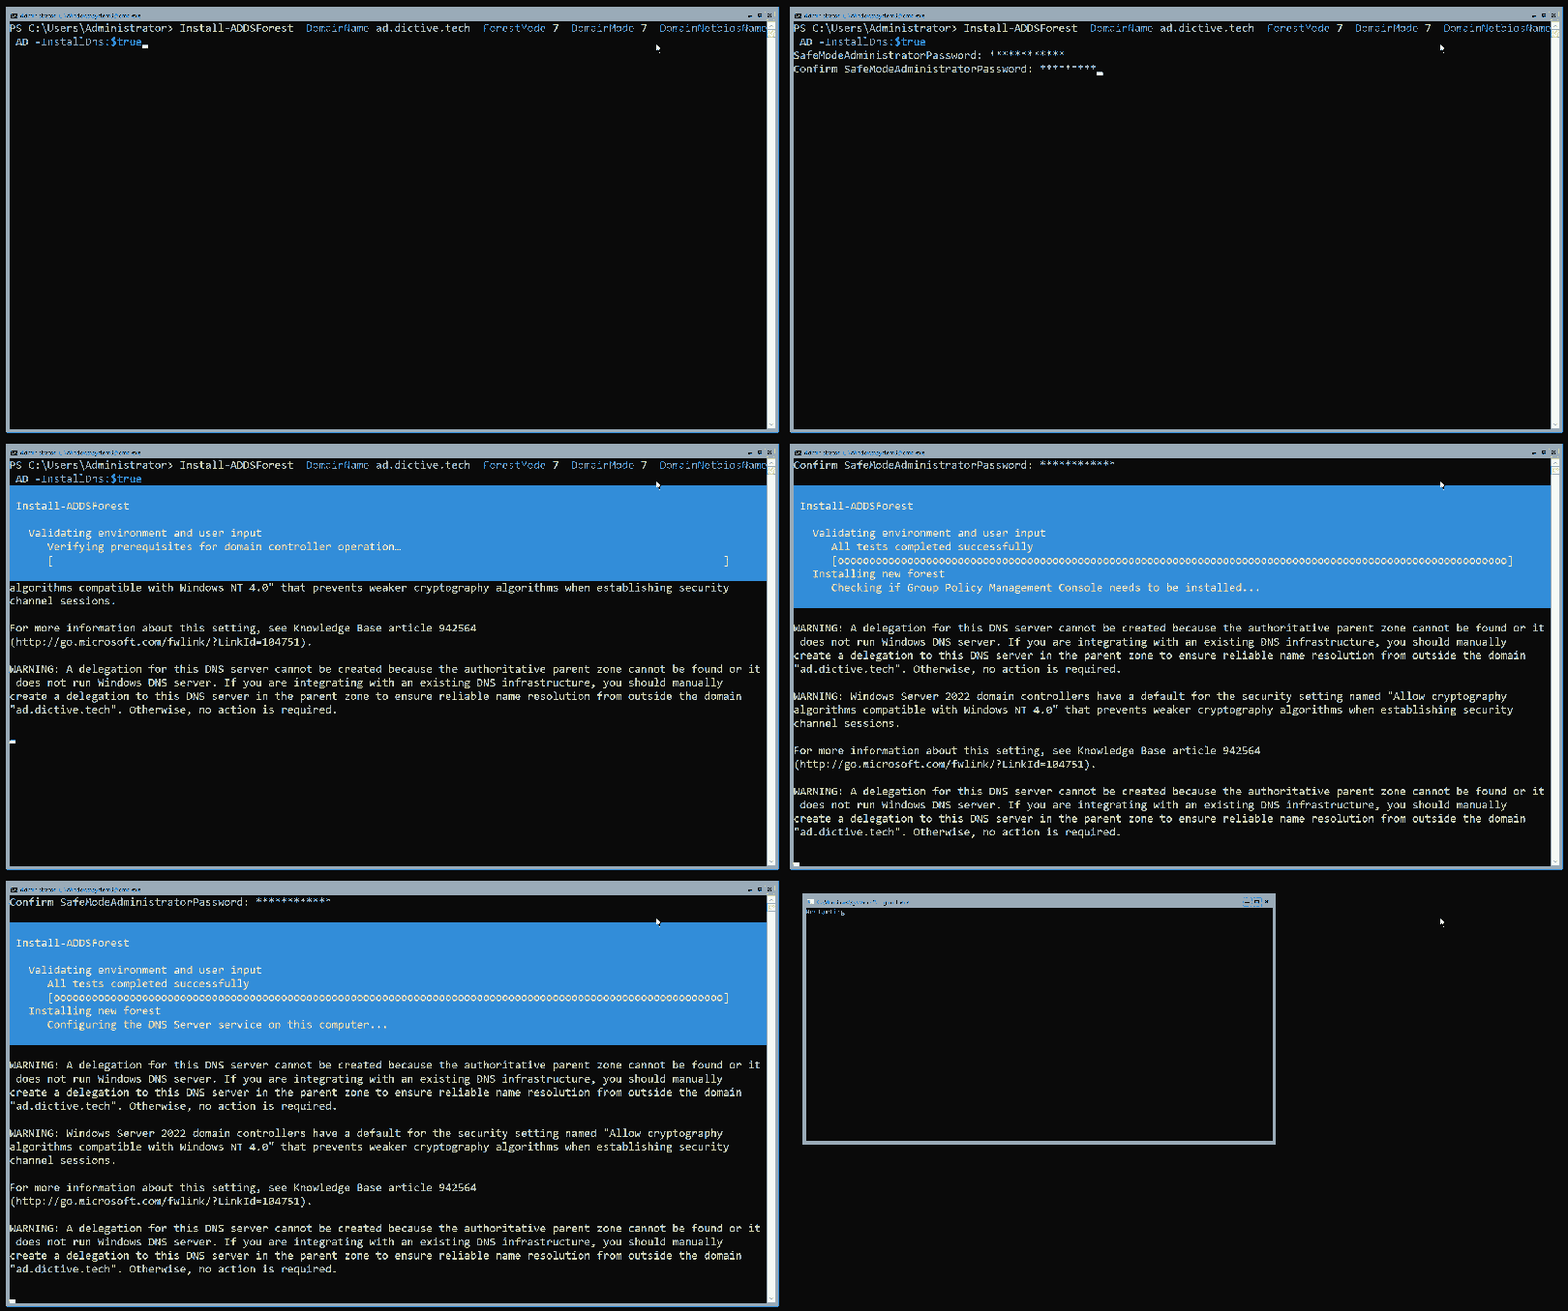
Once it has finished, it will automatically restart the server and can take some time to continue configuring/applying some group policy stuff after boot. After a little patience, you’ll be able to login to your brand new domain controller!
That’s it! You’ve created a new Windows Forest & Domain, and can now start adding users, hosts and DNS records.
Share this article:
Snipping Tool isn't a bad utility, but Windows' obnoxious behaviour when it comes to remapping shortcuts can make using an alternative tricky.

This guide will show you how to add a new domain controller to an existing Windows Active Directory Domain on a Server Core 2022 system.

If you're creating a new domain and see 'The NetBIOS name is already in use', the server sees something with the same name. Here's how to fix it.